![]()
The Correct Way to Add the Subdomain and Azure Alias in Vultr
-
Log into your Vultr Dashboard.
-
Go to Network on the left menu, then click the DNS tab.
-
Do not click "Add Domain". Instead, find your existing
stevepedwards.todayin the list and click on it to open its management page (where all your existing A, MX, or TXT records are listed). -
At the top of that list, you will see a form to add a new record. Fill it out like this:
-
Type: Select A from the drop-down.
-
Name: Type
azure(Just the wordazure, do not typeazure.stevepedwards.today. Vultr automatically appends your main domain name to whatever you type here). -
Data: Type or paste your Azure Windows VM Public IP Address.
-
TTL: Leave it at default (e.g., 300).
-
-
Click the Add (plus) button.
Why Vultr Does This
Vultr keeps it centralized. By adding azure as an A record under the stevepedwards.today umbrella, you are successfully creating azure.stevepedwards.today.
Because Vultr's Anycast DNS servers update instantly, this record will be published to Vultr's nameservers immediately. Within a few minutes, you'll be able to open a command prompt on your local computer and test it:
DOS
nmap -Pn azure.stevepedwards.today
steve@baby:~$ nmap -Pn azure.stevepedwards.today
Starting Nmap 7.94SVN ( https://nmap.org ) at 2026-05-18 20:30 BST
Nmap scan report for azure.stevepedwards.today (20.107.172.166)
Host is up (0.11s latency).
Not shown: 998 filtered tcp ports (no-response)
PORT STATE SERVICE
80/tcp open http
3389/tcp open ms-wbt-server
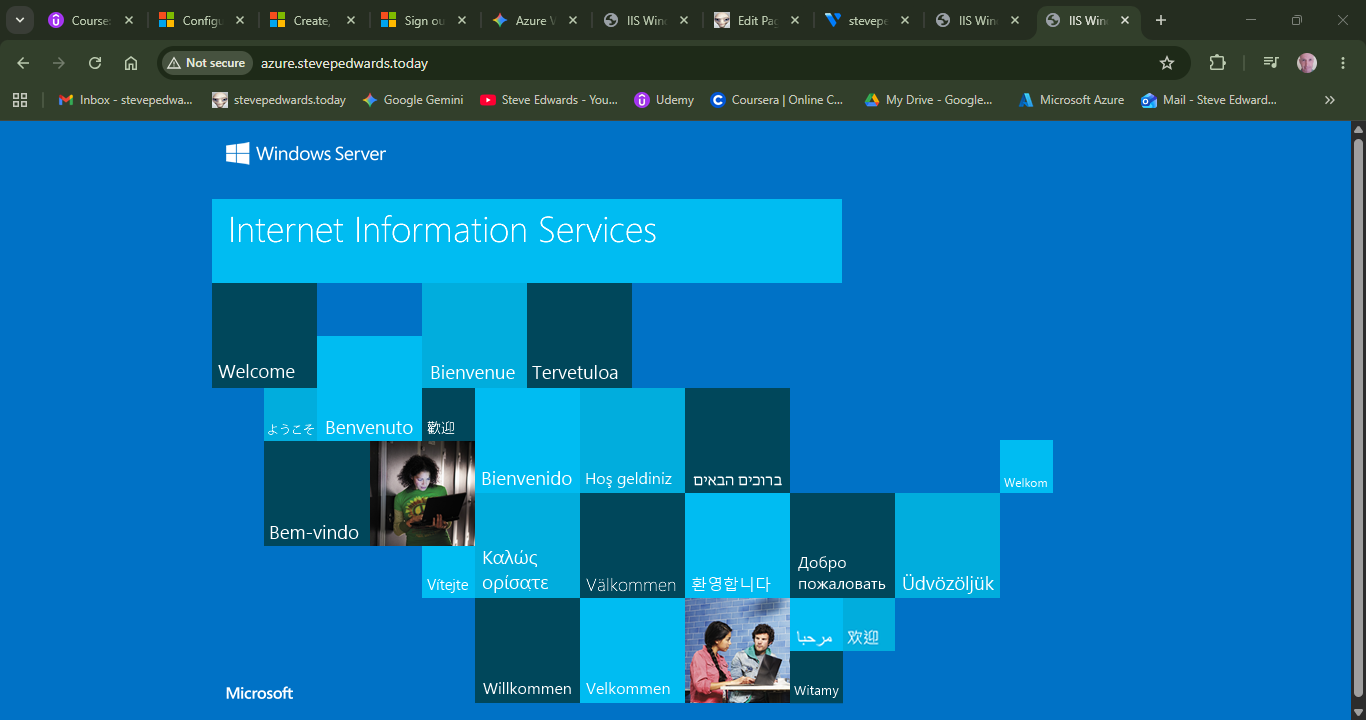
I can now connect to the default IIS win server web page via a domain name once I have updated the VM pip in the Vultr DNS portal.