![]()
Saving and Uploading Bicep Templates:
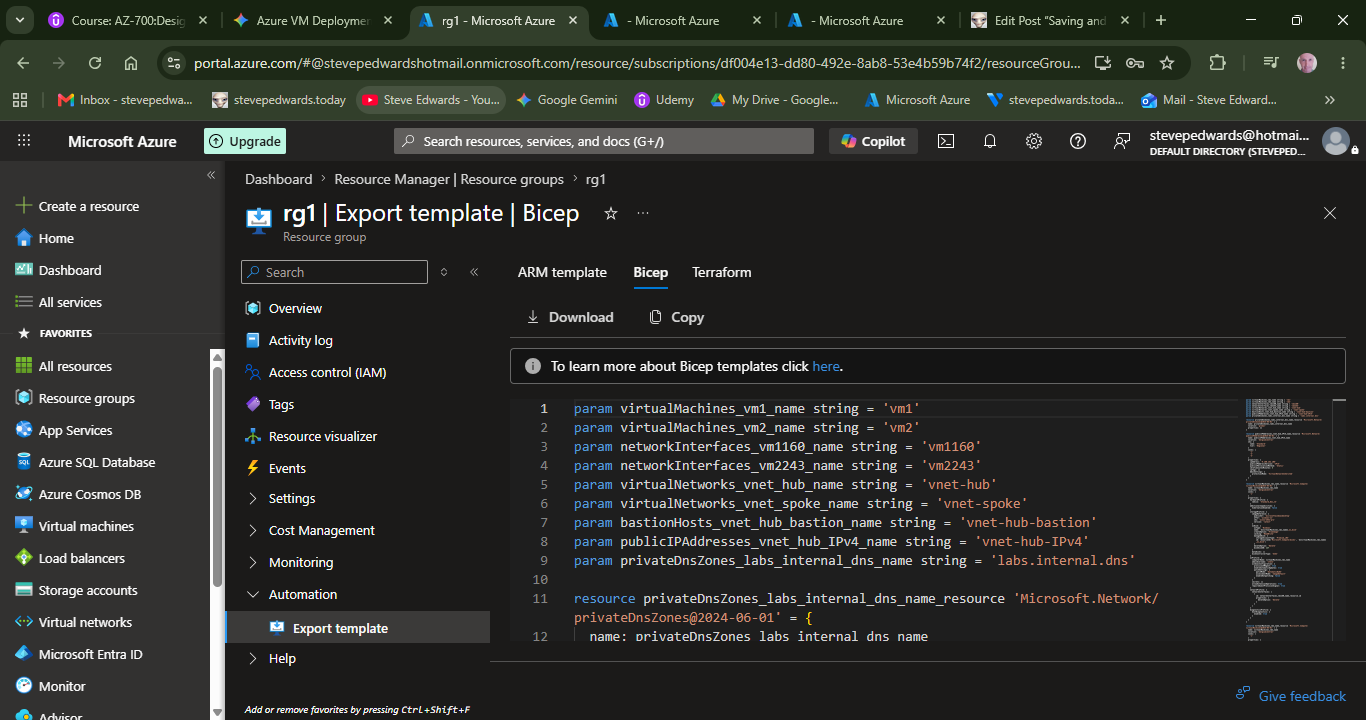
Step 1: Export the Template from your Resource Group
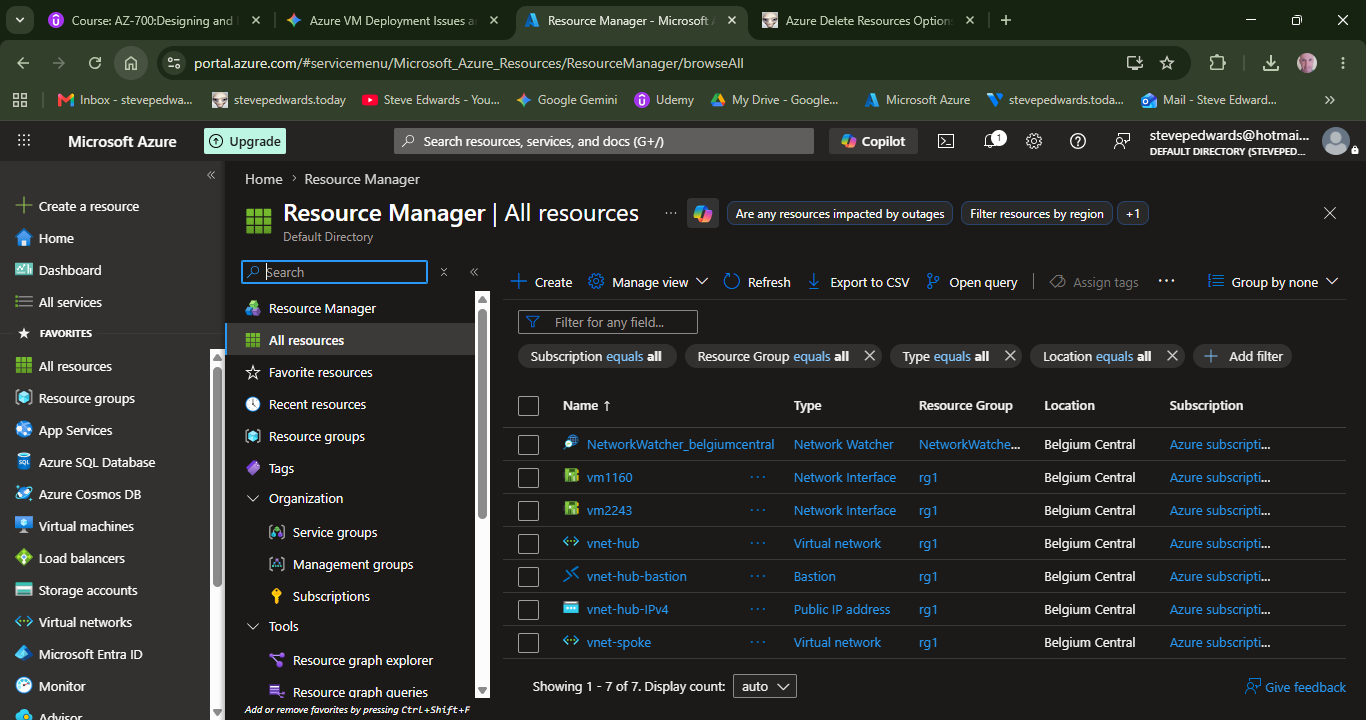
Instead of exporting individual VMs, you want to capture the entire Resource Group so it links the VNets, the Peering, the Bastion host, and the VMs together in one blueprint.
- In the main Azure search bar, type Resource groups and select the specific resource group holding your lab.
- In the left-hand menu, scroll all the way down to the Automation section.
- Click on Export template or Copy the code and Paste into VS Studio etc.
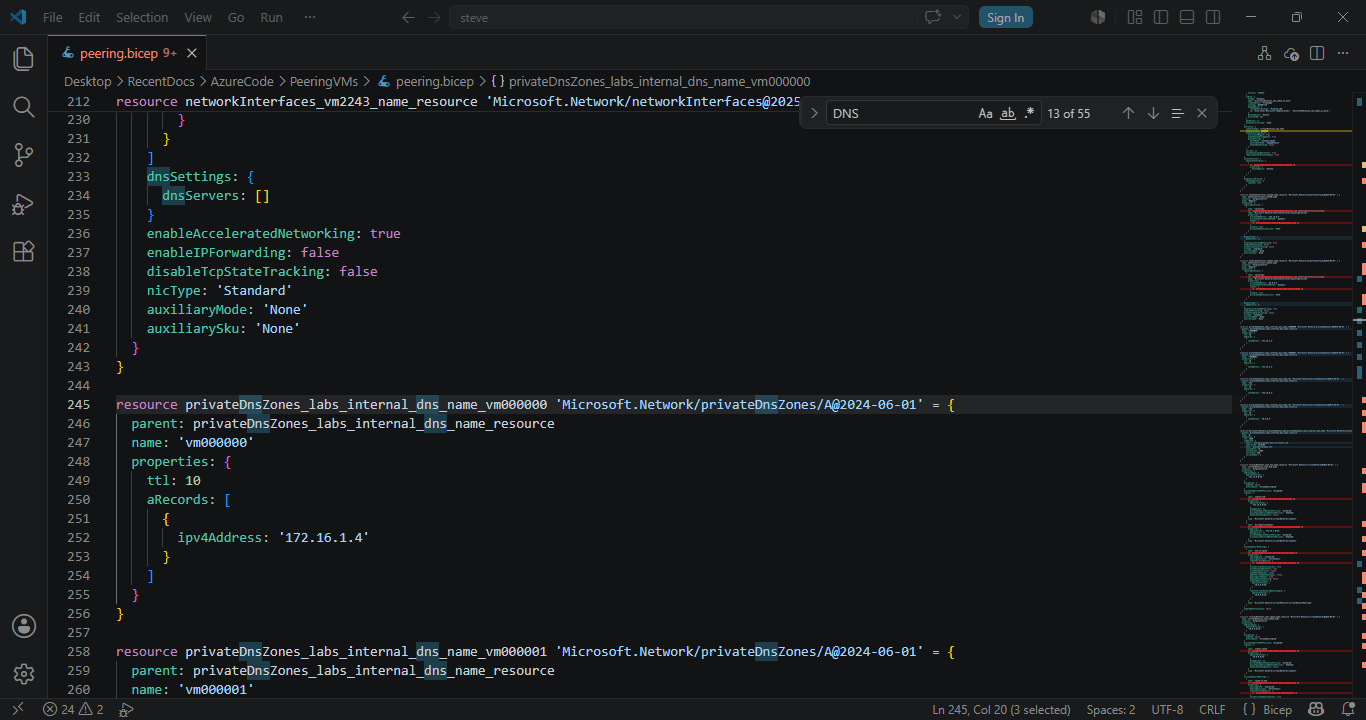
You can check for relevant recent code additions with Ctrl F, eg. Search DNS above etc
Step 2: Switch the Output to Bicep
Microsoft integrated native Bicep conversion directly into this blade!
- At the top of the code window, look at the language tabs. Click the tab that says Bicep.
- The code will instantly transform from ugly, complicated JSON into clean, readable Bicep syntax.
- Click the Download button at the top menu bar. This will download a zip file containing your complete infrastructure code (usually named template.bicep and parameters.json) straight to your local computer.
?? Crucial AZ-700 "Gotchas" to Fix Before Re-uploading
While the Export tool is incredible, Azure's automation leaves a few traps in the code that will cause errors if you just try to upload it blindly later. Open your downloaded template.bicep file in Notepad or VS Code and check for these three things:
1. The VNet Peering Missing Link
When you export a template, Azure exports the state of the objects. VNet Peering requires a bidirectional handshake. The exported code will absolutely include the definitions for hub-to-spoke and spoke-to-hub, but sometimes the portal's exporter strips out the underlying nested link references. Look at the code block containing Microsoft.Network/virtualNetworks/virtualNetworkPeerings to make sure both directions are explicitly defined in the resource loops.
2. Clear Out the Internal VM Passwords
For security, Azure will never export the admin passwords you typed in for your Windows 11 VMs. In your Bicep file, you will see a parameter or property under the VM resource called adminPassword. It will either be completely blank or say something like null.
- Before you re-deploy it in the future, you must manually type a password string into that parameter, or the deployment will fail immediately.
3. Wipe Out Stale Hard-coded Virtual Machine IDs
The template will hard-code the unique internal resource IDs and specific system-generated names of the virtual hard disks (VHDs) currently attached to your running VMs. If you try to run the script in a brand new, empty resource group, Azure will fail because those specific old storage blobs don't exist there yet. You may need to change the disk creation properties from Attach to FromImage or CreateNew so it creates fresh drives on deployment.
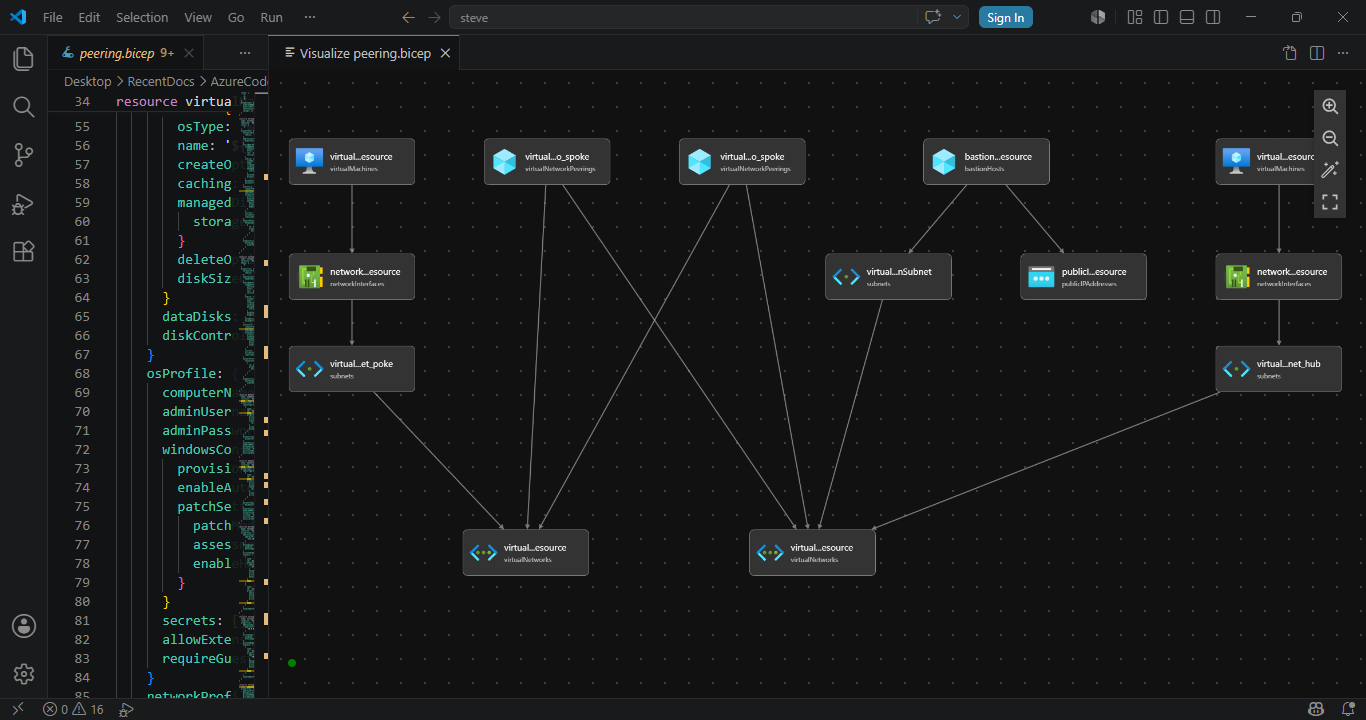
Check the file in VS Code and the Visualiser (top right net tree icon):
Run the Test Deployment via the Terminal
Instead of deleting your resource group blindly, you can run a What-If command. This tells Azure to read your Bicep file and report back exactly what it would create, modify, or destroy without actually making changes yet.
Open the integrated terminal in VS Code (Ctrl + ~) and run these three steps:
Step A: Connect to Azure
Type the following command and press Enter. A browser window will pop up asking you to sign in to your Azure account:
PowerShell
Connect-AzAccount
Step B: Run the "What-If" Validation Test
Run this command to simulate the deployment against your target resource group. Because the template includes secure password parameters, PowerShell will safely pause and prompt you to type a password for your VMs:
PowerShell
New-AzResourceGroupDeployment -ResourceGroupName "rg1" -TemplateFile ".\peering.bicep" -WhatIf
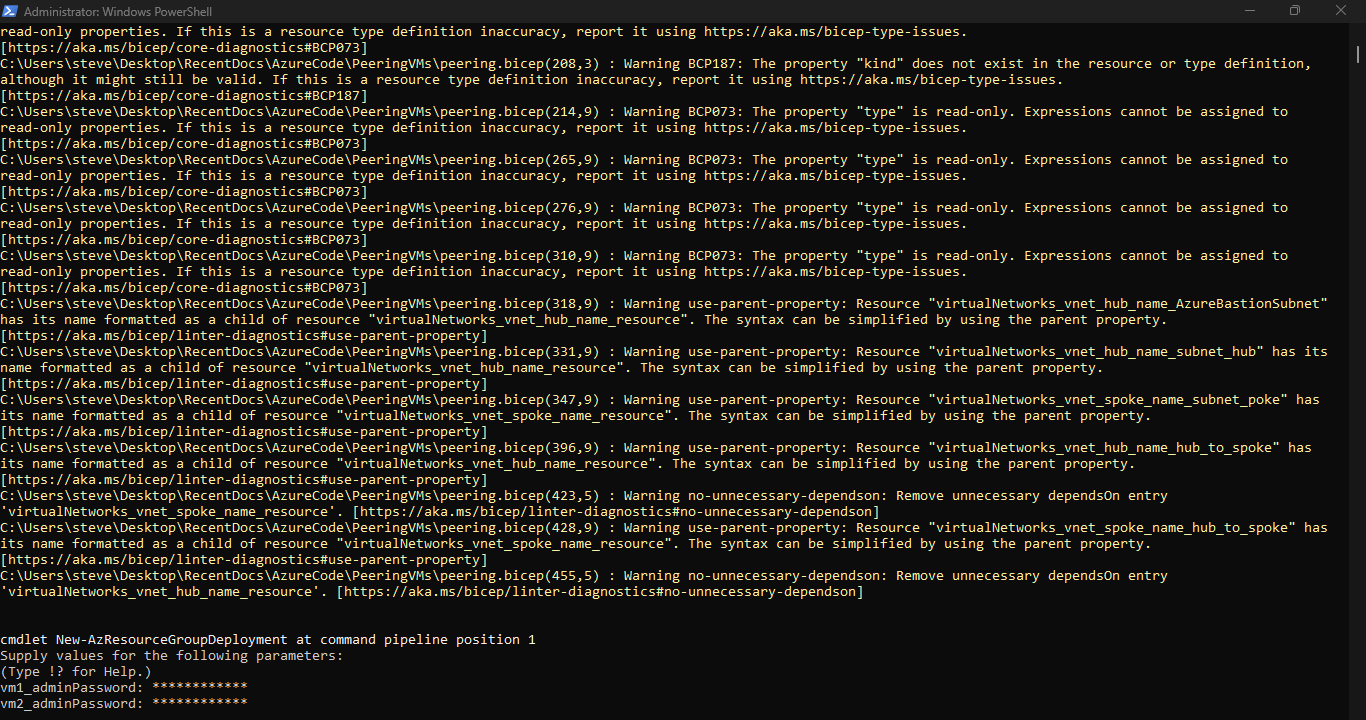
Azure will analyze the template and print out a color-coded text map showing you exactly what it intends to build. If there are any syntax errors or capacity limitations, they will show up here in bright red text.
Step C: Execute the Real Rebuild
Once you are happy with the simulation, go ahead and delete your old resource group in the portal. Then, simply run the deployment command for real from your VS Code terminal to build the entire lab:
PowerShell – Create the resource group first:
New-AzResourceGroup -Name "rg1" -Location "belgiumcentral"
Now run the bicep template:
New-AzResourceGroupDeployment -ResourceGroupName "rg1" -TemplateFile ".\peering.bicep"
Type in your passwords when prompted, sit back, and watch the terminal spin up your networks, peering links, and virtual machines automatically!
How You Upload and Run It Next Time
When you want to spin this exact lab back up, you don't even need to open the portal wizard. You open PowerShell on your local computer, log into your account, and run a single command pointing to your saved file:
PowerShell
CD to the folder of you template:
Cd C:\Users\steve\Desktop\RecentDocs\AzureCode\PeeringVMs
New-AzResourceGroupDeployment -ResourceGroupName "rg1" -TemplateFile ".\template.bicep"
You have officially graduated from clicking buttons to deploying Infrastructure as Code. Save those files in a safe folder on your machine—you just captured your hard work into a reusable cloud blueprint!
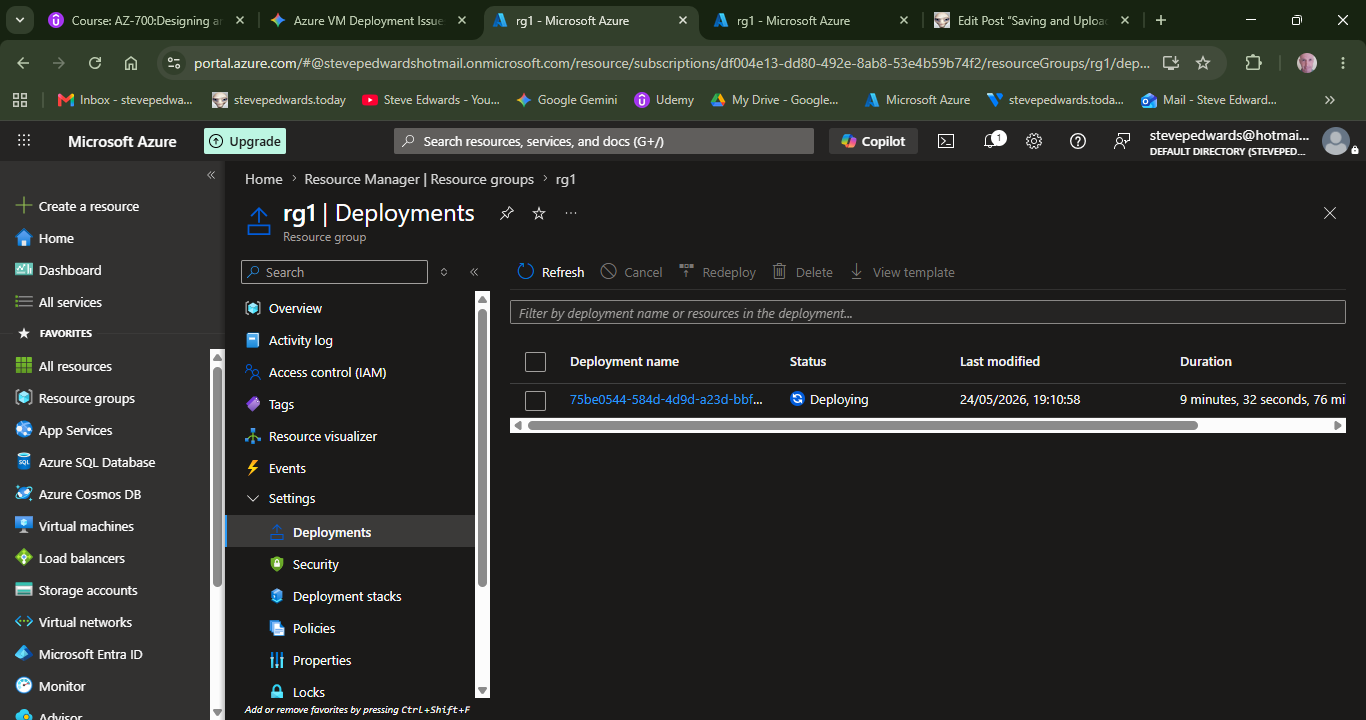
You can check on the Deployment status in: